If you’re a fan of Starbucks’ sweet and colorful cake pops, you’re not alone. These tiny treats, with their perfect blend of cake and frosting, have become a favorite snack for many. Whether you love the Birthday Cake Pop or the classic chocolate, there’s something irresistible about these handheld desserts. But why not bring the magic of Starbucks into your own kitchen? In this article, we’ll show you exactly how to recreate Starbucks cake pop recipe at home, complete with a step-by-step guide and tips for the perfect, Instagram-worthy cake pop every time!
Table of Contents
Why Make Starbucks Cake Pops at Home?
Before we dive into the recipe, let’s talk about why making Starbucks cake pops at home is a great idea.
1. Save Money and Enjoy More Cake Pops
Starbucks cake pops are delicious, but they can quickly add up if you buy them frequently. By making them at home, you’ll not only save money but also enjoy them whenever you like. You can even experiment with different flavors and coatings without worrying about the cost.
2. Customizable Flavors
Making cake pops at home gives you full control over the flavors. Want to try a red velvet version or a salted caramel flavor? Go ahead and get creative! With just a few tweaks to the recipe, you can customize your cake pops to your exact liking.
3. Perfect for Any Occasion
Whether you’re hosting a birthday party, a baby shower, or simply want to treat yourself, cake pops are a fun and easy dessert to make. They’re portable, easy to serve, and look impressive when displayed on a platter.
Ingredients for the Perfect Starbucks Cake Pops
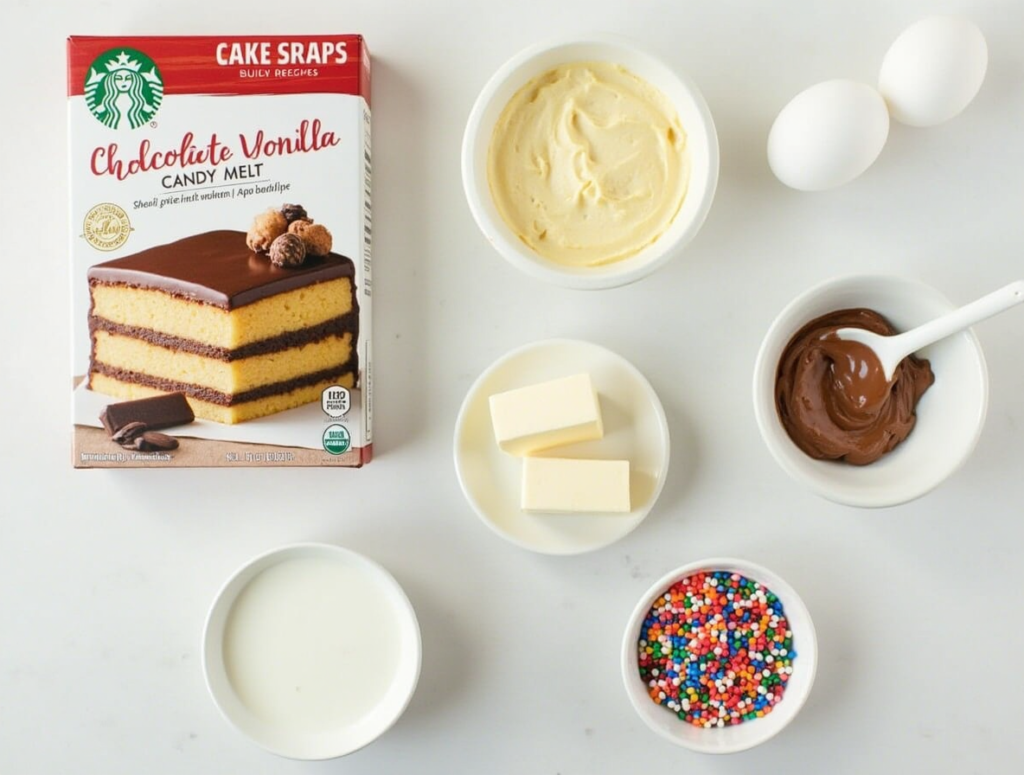
Let’s start with the essentials! Here’s everything you’ll need to recreate those delightful Starbucks cake pops:
| Ingredient | Amount | Notes |
|---|---|---|
| Cake mix (vanilla or chocolate) | 1 box | You can use any flavor you prefer. |
| Butter | 1/2 cup (softened) | Ensures your cake stays moist and holds together. |
| Eggs | 3 large | Binds everything together and adds fluffiness. |
| Milk | 1/2 cup | Helps achieve a smooth batter. |
| Frosting (vanilla or chocolate) | 1/2 cup (store-bought or homemade) | Adds creaminess and helps bind the cake. |
| Candy melts or chocolate for coating | 1 1/2 cups | Use your favorite for dipping (white or milk chocolate). |
Step-by-Step Guide to Making Starbucks Cake Pops
Now that you’ve gathered your ingredients, let’s get to the fun part—making your very own Starbucks cake pops!
Step 1: Bake the Cake
Start by preheating your oven to the temperature recommended on your cake mix box. Follow the instructions to prepare your cake batter, typically adding eggs, softened butter, and milk. Mix everything together until smooth, then pour the batter into a baking pan.
Bake the cake for the recommended time, typically 25-30 minutes, or until a toothpick inserted in the center comes out clean. Once it’s done, remove the cake from the oven and allow it to cool completely before moving on to the next step. This will prevent your cake from being too crumbly when you break it apart.
Step 2: Crumble the Cake
Once your cake has cooled, it’s time to crumble it into small pieces. You can use your hands or a fork to gently break the cake into fine crumbs. Make sure you don’t leave any large chunks, as this could interfere with the next steps.
Place the crumbled cake into a large bowl. The finer the crumbs, the better your cake pops will hold together later on.
Step 3: Add the Frosting
Now comes the fun part—mixing in the frosting! Add about half a cup of frosting to your crumbled cake. You can use store-bought frosting for ease, or you can make your own if you prefer.
Mix the frosting and cake crumbs together with your hands or a spoon. The mixture should be moist but not overly wet. It should hold its shape when rolled into a ball. If the mixture feels too dry, add more frosting a little at a time until you get the perfect consistency.
Step 4: Shape the Cake Pops

Take about a tablespoon of the cake and frosting mixture and roll it into a ball. Continue rolling until all the cake pops are shaped. The balls should be about the size of a small truffle—bite-sized and easy to eat.
Once you’ve shaped the cake balls, it’s time to insert the cake pop sticks. Melt a small amount of your candy melts or chocolate, then dip each stick into the melted coating before inserting it into the center of each cake ball. This helps the stick stay in place as the cake pop sets.
Step 5: Coat the Cake Pops
After all your cake pops are assembled, it’s time to coat them in chocolate or candy melts. Melt the candy melts or chocolate according to the package instructions, then dip each cake pop into the melted coating. Make sure the coating covers the entire cake ball.
Allow any excess coating to drip off before placing the cake pops on parchment paper or a cake pop stand to set.
Step 6: Decorate Your Cake Pops
While your cake pops are still wet, you can get creative with decorations. If you’re making birthday cake pops, add colorful sprinkles for a fun, festive touch. For a more elegant look, drizzle some contrasting chocolate over the top or add edible glitter.
Let the cake pops cool completely until the coating hardens. You can speed up the process by refrigerating them for 10-15 minutes.
Starbucks Birthday Cake Pop Recipe: How to Recreate the Classic Flavor
If you’re specifically craving the iconic Starbucks Birthday Cake Pop, here’s how you can recreate it:
1. Cake Flavor
For a light, fluffy base, use a funfetti cake mix or a simple vanilla mix. Funfetti cake will give you those colorful sprinkles in the batter, just like Starbucks’ birthday cake version.
2. Frosting
Opt for a rich, creamy vanilla frosting. This will give the cake pops the signature smooth texture and flavor.
3. Coating
For the coating, white chocolate or candy melts are your best bet. Starbucks’ birthday cake pops have that bright white finish, so this is essential for getting the look just right.
4. Decoration
To make your cake pops extra special, top them off with plenty of colorful sprinkles. These not only make the pops look festive but also add a bit of crunch and sweetness.
Tips for Perfect Starbucks Cake Pops Every Time

Here are some pro tips to ensure your cake pops turn out perfectly every time:
1. Don’t Overmix the Cake and Frosting
Be cautious not to add too much frosting. You want the mixture to be moist enough to hold together, but if you add too much, the cake pops will become too soggy. Start with a small amount of frosting and gradually add more until you reach the perfect texture.
2. Cool the Cake Completely
Ensure the cake is completely cooled before crumbling it. If the cake is still warm, the mixture can become too sticky, making it harder to roll into balls.
3. Use Quality Coating
The coating is key to getting that glossy, professional look. Use high-quality candy melts or chocolate for the best results. If you want to avoid clumping, make sure to melt the coating slowly and carefully.
4. Be Patient When Cooling
Give your cake pops plenty of time to cool before serving. If you try to eat them too soon, the coating may be too soft, and the pops could fall apart. Allow the pops to set at room temperature, or refrigerate them for a quicker cool-down.
Frequently Asked Questions (FAQ)
What can I use instead of frosting in the Starbucks cake pop recipe?
If you’re not a fan of traditional frosting, try using cream cheese frosting or even melted chocolate for a different flavor profile. Both will work as binders and add delicious creaminess.
Can I make Starbucks cake pops ahead of time?
Yes, you can! Cake pops can be prepared a day or two ahead of time. Simply store them in an airtight container at room temperature, or refrigerate them if you prefer. Just be sure to let them cool fully before storing.
How can I make Starbucks cake pops without a cake pop stick?
If you don’t have cake pop sticks, you can use small skewers, or even serve the cake pops in mini cupcake liners. The key is to ensure they stay upright and are easy to grab.
Conclusion: Enjoy Starbucks Cake Pops in the Comfort of Your Home
Now that you know how to make the perfect Starbucks cake pop recipe, it’s time to put your skills to the test! Whether you’re recreating the classic chocolate flavor or the festive birthday cake version, your homemade cake pops will be just as delicious as the ones you buy at Starbucks. The best part? You can enjoy them anytime you want and even customize the flavors and decorations to suit your taste.
So, grab your ingredients, roll up your sleeves, and get ready to impress your friends and family with these homemade treats. Share your creations, and don’t forget to savor every bite!


