Bow Arrow Cupcakes Recipe: A Complete Guide to Crafting Perfect Cupcakes
Nothing sparks joy quite like baking cupcakes, especially when they’re as delightful as Bow Arrow Cupcakes Recipe. Whether you’re preparing for a themed celebration or simply want to add a whimsical touch to your dessert table, these cupcakes are sure to impress. In this complete guide, you’ll learn everything you need to know to make, decorate, and enjoy Bow Arrow Cupcakes that look as good as they taste. Let’s get started on this creative baking journey together!
Table of Contents
What Makes Bow Arrow Cupcakes Recipe Special?
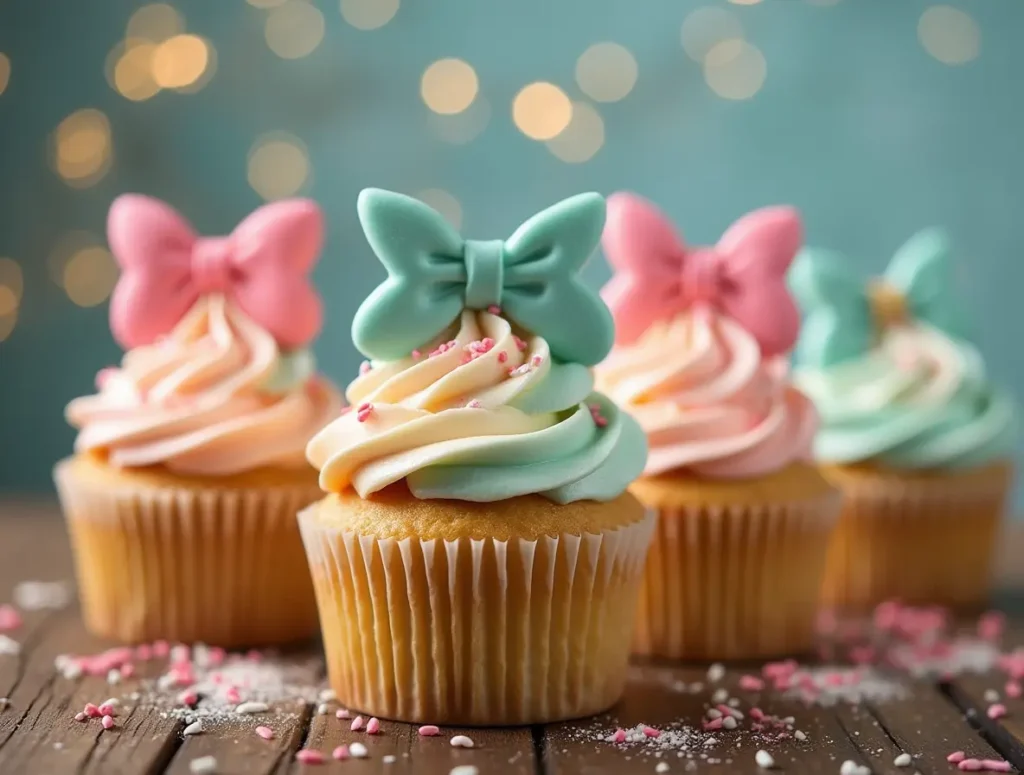
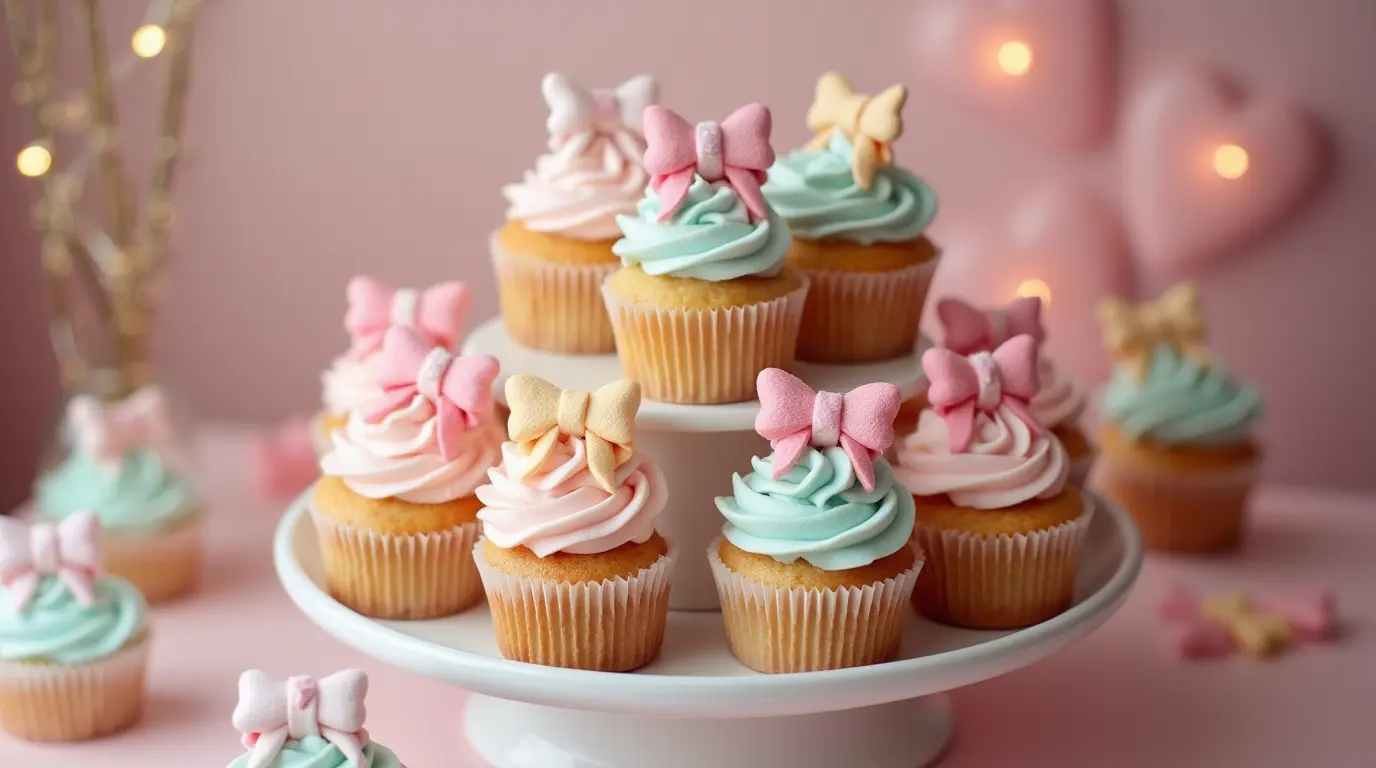
Bow Arrow Cupcakes Recipe stand out because of their charming design and versatility. Perfect for occasions like Valentine’s Day, weddings, or even themed birthday parties, these cupcakes capture the essence of celebration and creativity. The combination of a moist cupcake base, creamy frosting, and adorable bow-and-arrow decorations makes them a visual and flavorful treat. They’re not just desserts — they’re edible art!
Ingredients You’ll Need
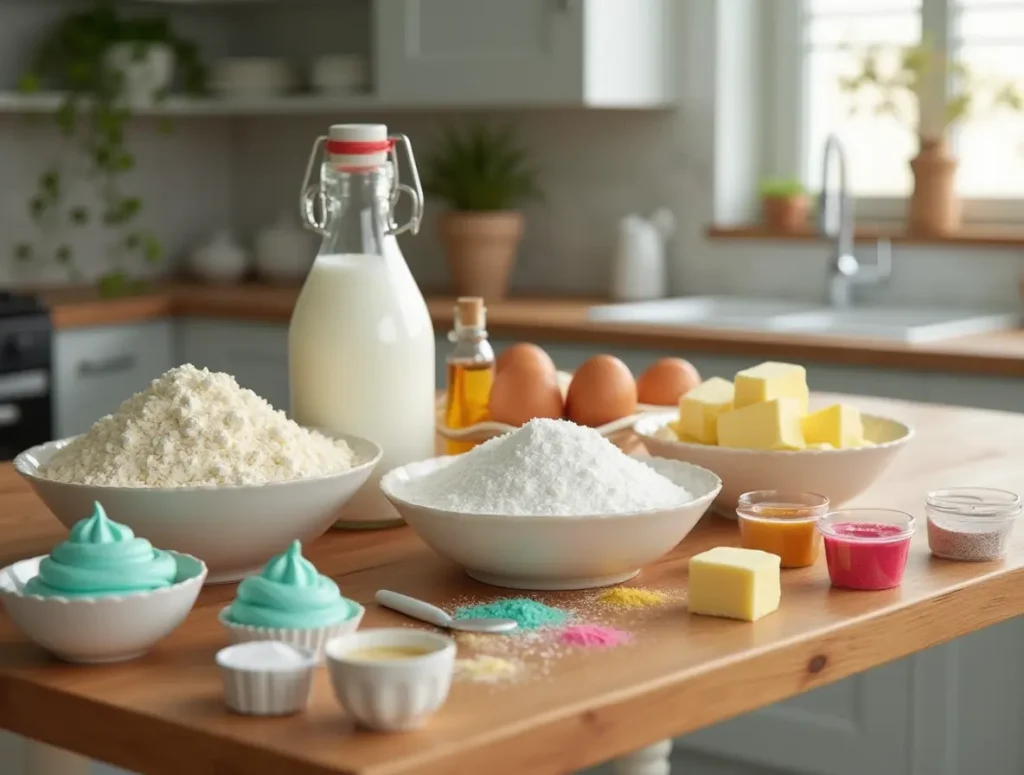
To ensure your Bow Arrow Cupcakes turn out perfect, it’s essential to have the right ingredients on hand. Below is a comprehensive list for both the cupcake base and the decorations.

Basic Cupcake Ingredients
| Ingredient | Quantity | Notes |
|---|---|---|
| All-purpose flour | 2 cups | Sifted for a lighter texture |
| Granulated sugar | 1 ½ cups | Provides the perfect sweetness |
| Unsalted butter | 1 cup | Softened to room temperature |
| Eggs | 2 large | Essential for structure and richness |
| Vanilla extract | 1 teaspoon | Opt for pure vanilla for better flavor |
| Baking powder | 2 teaspoons | Ensures fluffy cupcakes |
| Milk | 1 cup | Whole or 2% milk works best |
Bow and Arrow Decorations
| Decoration | Quantity | Suggestions |
|---|---|---|
| Fondant | As needed | Shape into bows and arrows |
| Food coloring | Optional | Match colors to your theme |
| Toothpicks | As needed | Serve as arrow shafts |
| Edible glitter | Optional | Adds a sparkling finish |
Step-by-Step Recipe
1. Preparing the Cupcake Base
- Preheat and Prep: Begin by preheating your oven to 350°F (175°C). Line a muffin tin with cupcake liners to prevent sticking and ensure easy cleanup.
- Combine Dry Ingredients: In a medium bowl, whisk together the flour and baking powder. Set this mixture aside.
- Cream Butter and Sugar: Using a hand or stand mixer, beat the softened butter and sugar until light and fluffy. This step is crucial for achieving a tender texture.
- Incorporate Eggs and Vanilla: Add the eggs one at a time, beating well after each addition. Mix in the vanilla extract for a hint of sweetness.
- Alternate Wet and Dry Ingredients: Gradually add the dry mixture and milk to the batter, alternating between the two. Start and end with the dry ingredients for a smooth consistency.
- Bake: Spoon the batter evenly into the cupcake liners, filling each about two-thirds full. Bake for 18–20 minutes, or until a toothpick inserted into the center comes out clean. Allow the cupcakes to cool completely before decorating.
2. Crafting the Bow and Arrow Toppers
- Roll Out Fondant: Lightly dust your work surface with powdered sugar. Roll out the fondant to about 1/8-inch thickness.
- Shape Bows and Arrows: Use a small knife or cookie cutters to create bow and arrow shapes. For the arrow shafts, cut thin strips of fondant and attach arrowheads and feather shapes.
- Customize with Colors: Use food coloring to paint or tint the fondant as desired. This is where you can get creative and match the design to your event theme.
- Attach to Toothpicks: Secure the fondant arrow shafts onto toothpicks for easy placement on the cupcakes.
- Set and Harden: Allow the decorations to air-dry for at least an hour to firm up.
3. Decorating Your Cupcakes

- Prepare the Frosting: Whip up your favorite buttercream frosting or use a pre-made option for convenience.
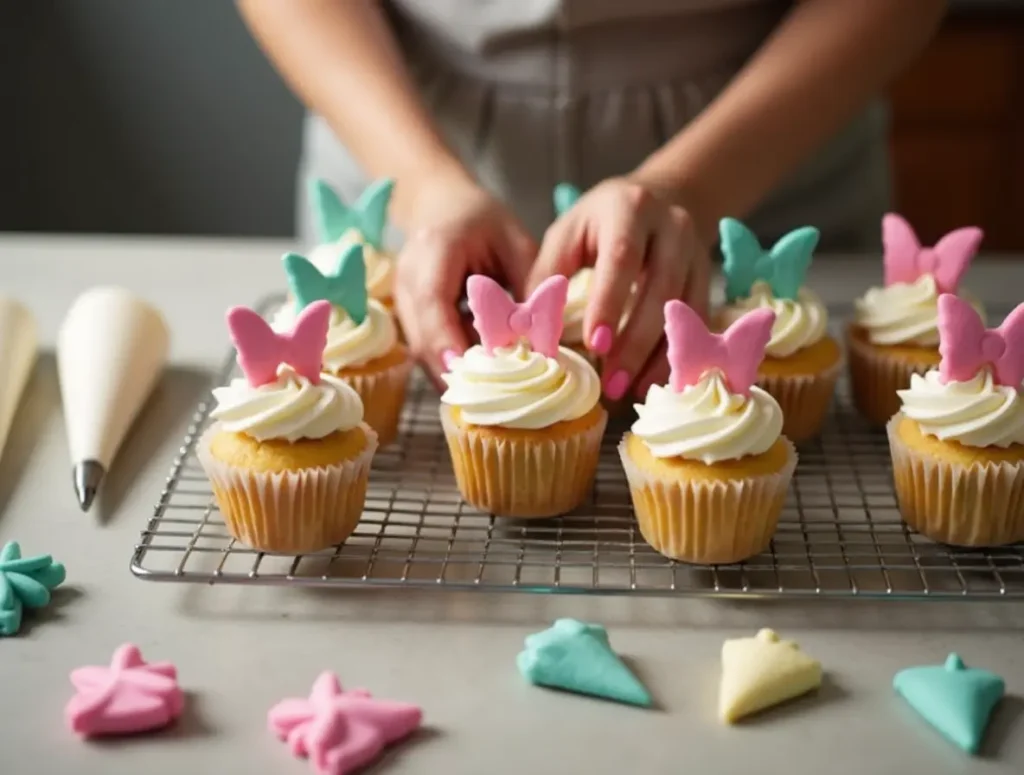
- Frost the Cupcakes: Spread or pipe the frosting onto each cooled cupcake. A piping bag with a star tip can create a professional look.
- Add Toppers: Carefully place the bow and arrow decorations on top of each cupcake.
- Finishing Touches: Sprinkle edible glitter or add a drizzle of colored icing for extra flair.
Expert Tips for Success
- Quality Ingredients Matter: High-quality butter, vanilla extract, and fondant will elevate the flavor and appearance of your cupcakes.
- Don’t Overmix: Stirring the batter too much can result in dense cupcakes. Mix just until combined.
- Cool Completely Before Decorating: Warm cupcakes can cause frosting to melt and decorations to slip.
- Plan Ahead: Prepare fondant toppers a day in advance to save time and reduce stress on baking day.

Creative Variations
- Flavor Twists: Swap vanilla for chocolate, red velvet, or lemon cupcake bases to suit your taste.
- Filling Options: Add a surprise filling, like raspberry jam, cream cheese, or chocolate ganache, for an extra layer of indulgence.
- Theme Customization: Experiment with colors and designs to match different events, such as gold and silver for anniversaries or pastels for baby showers.
FAQs About Bow Arrow Cupcakes Recipe
Q: What frosting works best for these cupcakes?
A: Buttercream frosting is ideal as it’s sturdy enough to hold the decorations while offering a creamy texture.
Q: Can I use a store-bought cupcake mix?
A: Absolutely! While homemade cupcakes provide a richer flavor, a quality mix can save time and still yield delicious results.
Q: How far in advance can I make these cupcakes?
A: You can bake the cupcakes up to two days in advance. Store them in an airtight container and frost them on the day of serving for the best freshness.
Q: Are there alternatives to fondant for decorations?
A: Yes, modeling chocolate or marzipan can be used as substitutes for fondant.
Conclusion
Crafting Bow Arrow Cupcakes Recipe is not only a fun baking activity but also a way to showcase your creativity and love for the people you’re serving. By following this comprehensive guide, you’ll be able to create stunning cupcakes that taste as amazing as they look. Now it’s your turn to get baking! Share your creations and let us know how they turned out. Your journey to becoming a cupcake artist starts here!


